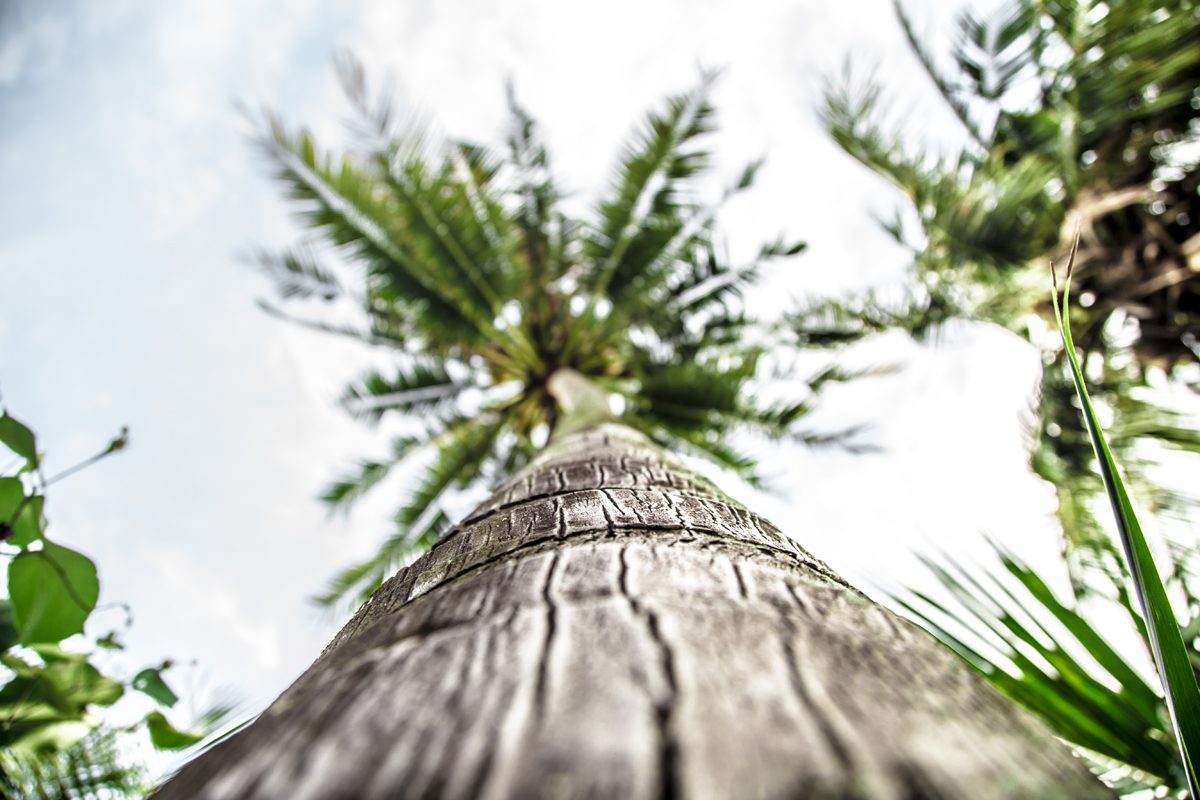
Use our DIY guide below to properly trim your palm tree trunk.
When Is The Best Time To Trim A Palm Tree Trunk?
The experts recommend performing this task in the spring. However, there may be a few indicators that your trunk needs a trimming sooner rather than later.
For example, broken fronds, dead fronds, or the appearance of fruit stalks and palm flowers are all signs that it’s time for a trim.
Necessary Tools And Equipment
The tools you’ll need for this task ultimately depends on how large the palm tree is. Here are a few common tools needed to trim the trunk:
- Hand saw.
- Chain saw.
- Shears or big clippers.
- Serrated knife.
- Ladder, step stools, or lifts.
- Gloves.
- Goggles.
- Disinfectants.
- Bench grinder, oilstone, or whetstone.
Palm Tree Trunk Trimming Steps
Follow these DIY steps in order to properly trim your palm tree trunk.
Step 1. Assess The Trunk
- Use your pruning knife or serrated knife for small bases and loose bark.
- A hand saw or pruning saw may be needed for thicker frond bases.
- Start by checking the palm tree trunk for any dead frond bases.
- Also check for any loose bark, insects, or mold.
- Identify some areas where old fronds are attached or where there is an excess of debris.
Step 2. Remove Any Dead Frond Bases
- Start from the bottom, working your way up.
- Gently cut away any dead bases that are no longer attached firmly.
- Refrain from cutting into the trunk’s living tissue.
- This can create wounds that only invite disease and pests.
Step 3. Peel Off Loose Bark
- Use your hands or a knife to pry off loose, hanging pieces of bark.
- This will clean up the appearance of the trunk.
- Be mindful not to strip the trunk too aggressively because this can damage the living tissue underneath.
Step 4. Trim Any Areas With Mold Or Pests
- If you see any areas that feature mold or pests, trim these sections carefully.
- Consider treating your trunk with a fungicide or pesticide to prevent any further issues.
Step 5. Shape Your Trunk
- For a uniform appearance, you can trim the bases which creates a smoother look along the trunk.
- This is a purely aesthetic step that needs to be done cautiously in order to not harm the tree.
Step 6. Final Inspection
- Step back from the area to inspect your trunk from a distance.
- Make sure all dead material has been removed.
- The trunk should now have a clean, uniform appearance.
- Make any additional small cuts as needed to perfect the appearance of the trunk and tree.
Step 7. Clean Any Debris
- Clear away any and all debris from around the base of the tree.
- This is done to prevent and pests from the area and to maintain a tidy landscape.
Tree Removal Services In Arizona
Hayward Tree is offering tree removal from above using a specialized crane. The benefit of this service is that we can remove your tree from above and avoid tearing up your yard and leaving drag marks. No broken limbs, no crushed bushes. It’s quick, efficient, and leaves your property looking clean, undisturbed, and untouched. Best of all, it’s at no additional cost to you! Contact our team today for a free estimate!


2 Comments